Short answer
Before biohazard decontamination begins, assess ten risks: bloodborne pathogens, hidden sharps, fluid migration into porous materials, aerosols from dried material, disinfectant fumes and chemical mixing, cross-contamination, electrical and structural hazards, heat stress in protective gear, improper waste handling, and the emotional toll on occupants. Each one shapes the protective equipment, methods and sequence the crew should use.
Why assess safety risks before anyone starts cleaning?
The urge after any blood or body fluid incident is to make it disappear quickly. That instinct is understandable, but it is also where many injuries and exposures happen. People start scrubbing before they know what they are dealing with, and the cleanup itself creates new hazards.
A short, deliberate assessment changes that. It identifies what could hurt the people doing the work, what could spread contamination to clean areas and what could damage the property. It also sets the order of operations, so the riskiest tasks are done with the right protection.
Whether you are a homeowner, a property manager or a business owner, knowing these ten risks helps you understand what a professional crew is checking and why they may not start work the moment they arrive.
Assessment is also the moment to confirm the site is actually available for cleanup. If police, a medical examiner or an employer's safety officer still controls the area, work has to wait. Starting too early can disturb evidence or conflict with an investigation, which creates problems for everyone involved.
Risk 1: Bloodborne pathogens
The first risk is exposure to bloodborne pathogens. Hepatitis B, hepatitis C and HIV can be present in blood and some other body fluids, and you usually cannot tell by looking. Some of these viruses are durable, so a spill that has sat for a while still calls for full precautions. For that reason, professionals treat all blood and body fluids as potentially infectious, regardless of the source.
Risk 2: Hidden sharps
The second risk is sharps. Needles, broken glass, razor blades and sharp debris can be hidden under fabric, in carpet, inside trash bags or beneath furniture. A puncture from a contaminated sharp is one of the most direct routes of infection.
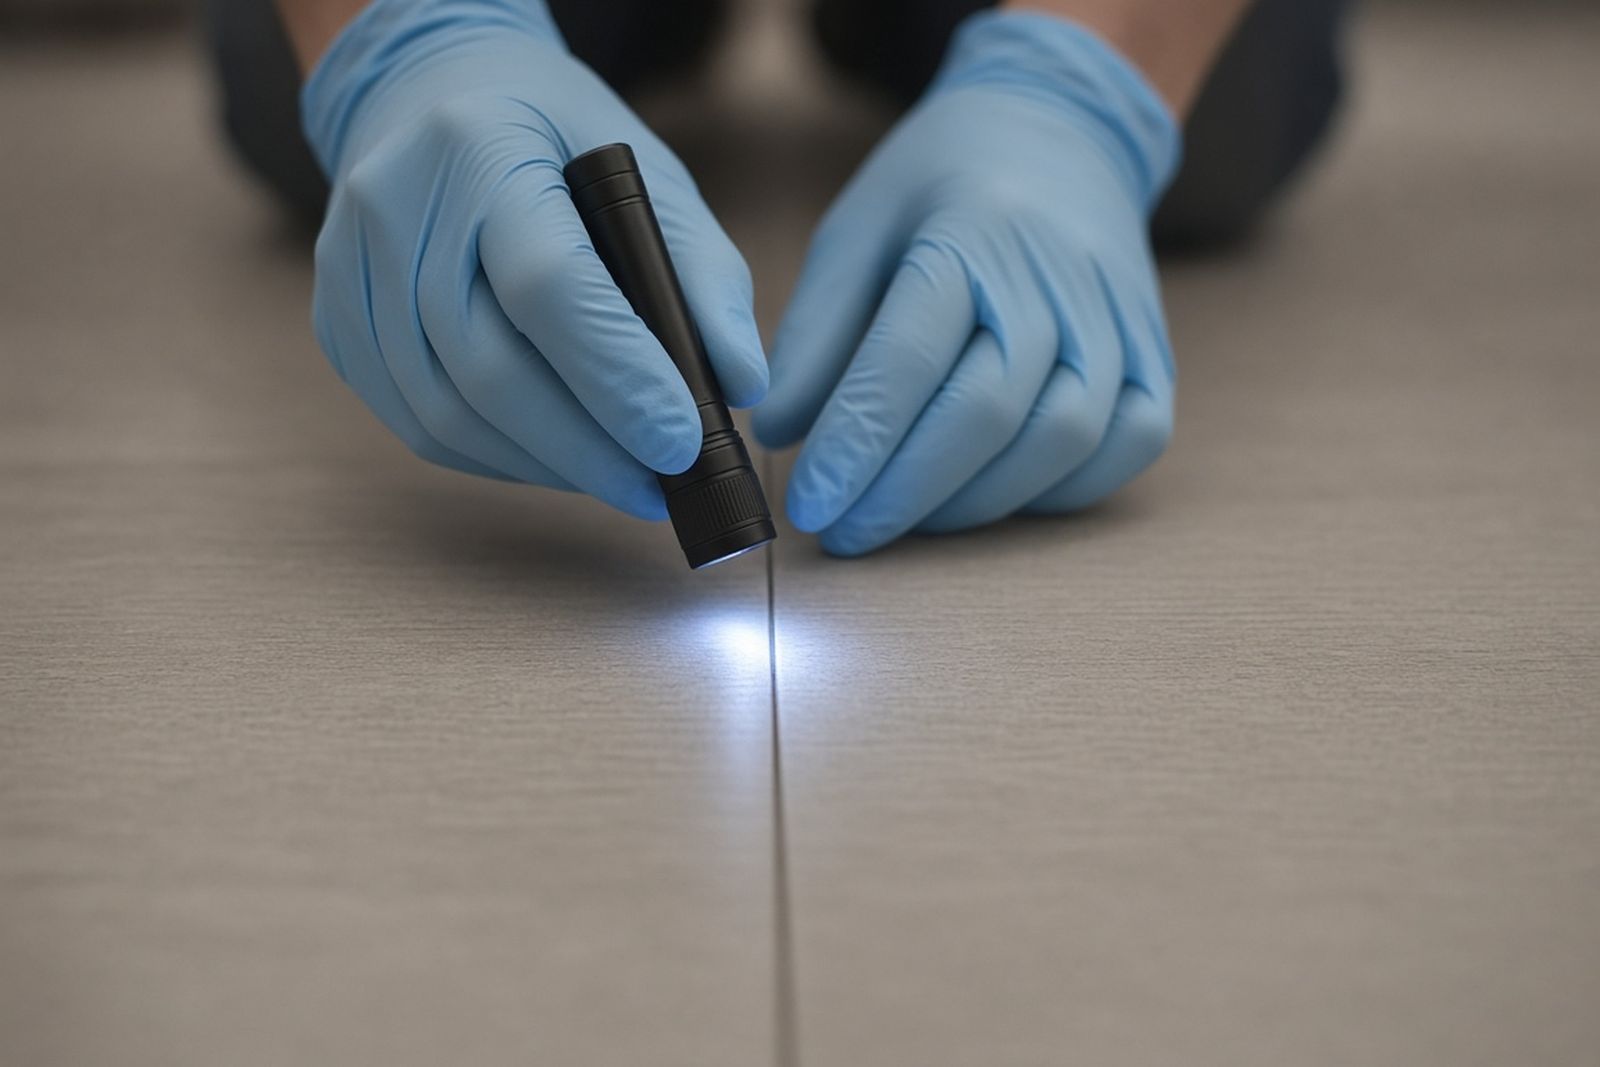
Assessment for both starts before anyone touches anything. Crews look for visible sharps, ask about medical conditions or drug use at the site when appropriate and plan to use puncture-resistant gloves, tongs and sharps containers. No one should reach blindly into a pile, bag or crevice.
Risk 3: Contamination that has spread out of sight
The third risk is hidden migration. Blood and body fluids seep into carpet pad, subfloor, drywall, upholstery and mattresses, and they travel through seams in flooring and under baseboards. What looks like a small stain can be the top of a much larger saturated area. Underestimating spread leads to incomplete cleanup, lingering odor and ongoing exposure.
Risk 4: Dust and droplets in the air
The fourth risk is aerosolization. Dried material can break into particles when scraped, swept or vacuumed with ordinary equipment. Spraying liquids forcefully onto fresh fluids can create droplets. Both can carry contamination into the air and onto the person doing the work.
Assessment here means looking at the materials, lifting edges where possible and planning methods that keep material wet and contained. Crews may rehydrate dried residue before removal, avoid high-pressure sprays and use HEPA filtration when removing dry, contaminated materials.
Risks 5 and 6: Chemicals and cross-contamination
The fifth risk is chemical exposure. Disinfectants and cleaners can irritate skin, eyes and lungs, especially in small, poorly ventilated rooms. Mixing products can be dangerous, such as combining bleach with ammonia or acids, which can release harmful gases.
The sixth risk is cross-contamination. Contamination can be carried from the work area to clean spaces on gloves, shoes, tools and equipment, or by moving contaminated materials through clean rooms. It can also move the other way if people or pets wander into the work zone.
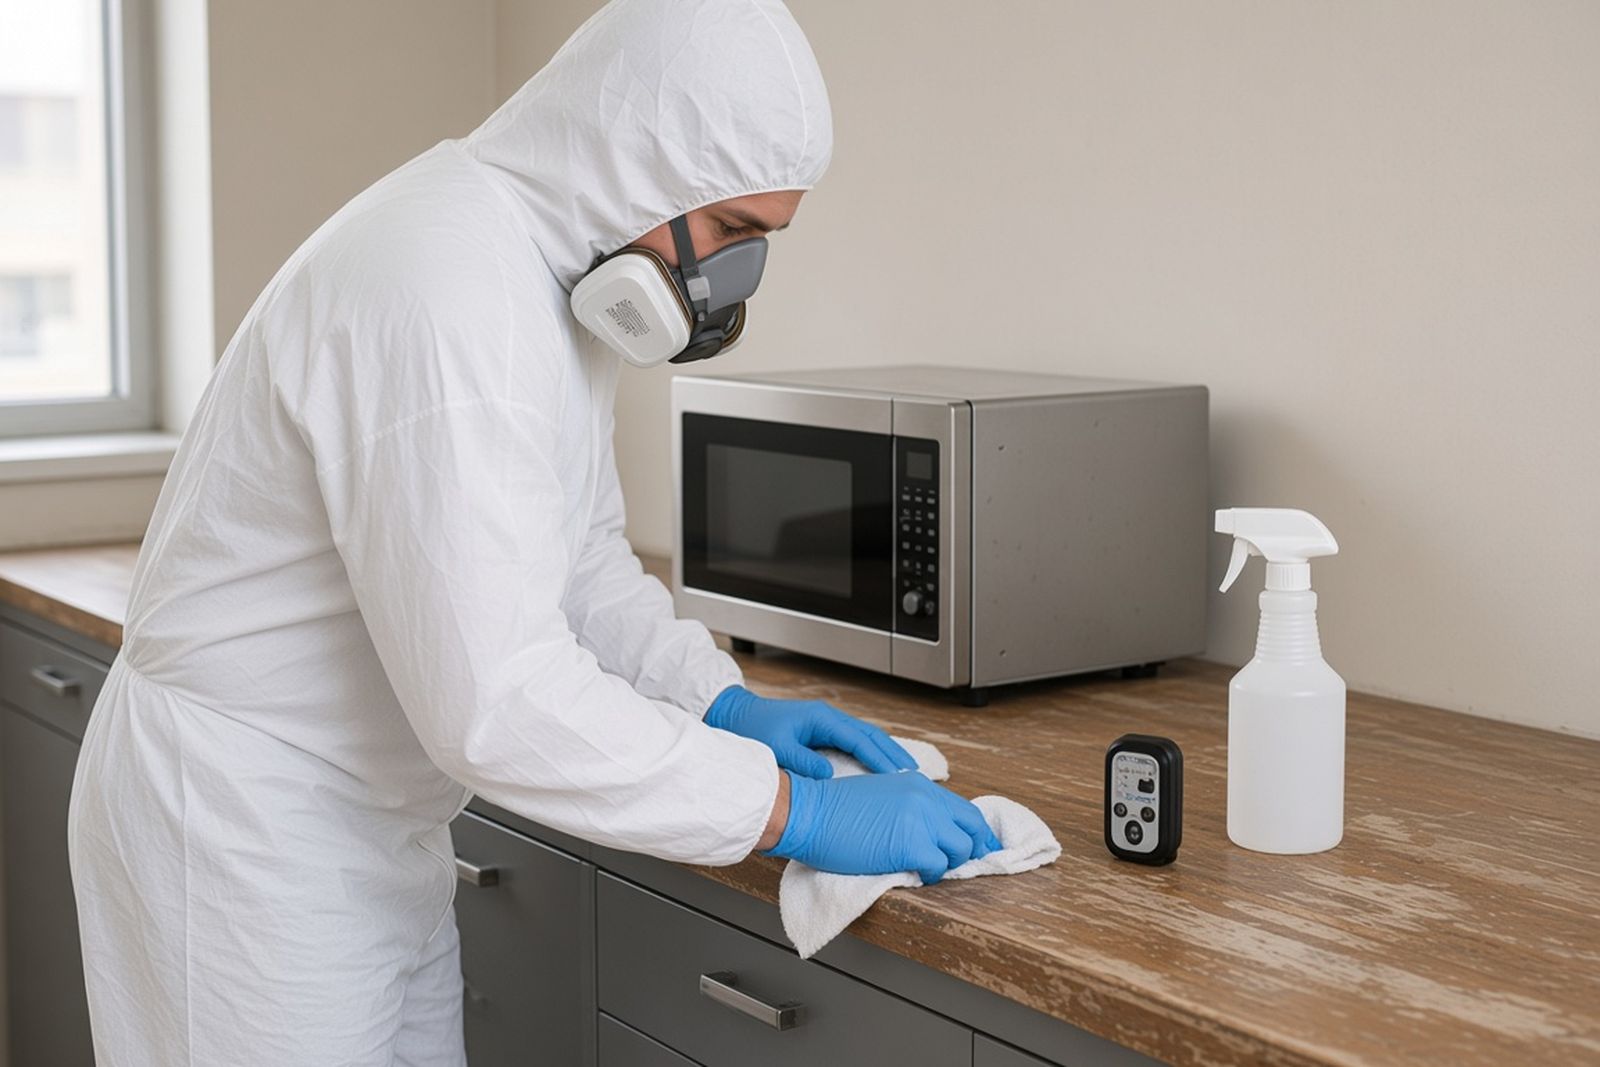
Assessment for chemical risk includes reviewing labels, planning ventilation, choosing products compatible with each surface and selecting respiratory protection. For cross-contamination, crews define clean and dirty zones, plan a removal path to the exterior and set up a place to remove and bag protective gear.
Risks 7 and 8: Physical hazards and heat stress
The seventh risk is physical and structural. Wet floors are slippery. Removing flooring or drywall can expose electrical wiring. Saturated subfloors may be weakened. Fluids near outlets, appliances or electrical panels can create shock hazards. Heavy furniture and mattresses can cause strains when moved.
The eighth risk is heat stress. Fluid-resistant suits, respirators and double gloves trap heat. In a warm building, especially in summer or in a space without working air conditioning, workers can overheat quickly. Heat stress causes fatigue and poor judgment, which in turn increases the chance of a mistake.
Assessment includes checking for electrical hazards and shutting off power to affected circuits when appropriate, inspecting floors, planning lifts and scheduling rest and hydration breaks outside the work zone. A crew that plans breaks is not slow. It is safer.
Lighting belongs in this part of the assessment too. Dim rooms hide sharps, spatter on dark surfaces and trip hazards. Bringing portable work lights into the space is a simple step that makes nearly every other risk easier to manage.
Risks 9 and 10: Waste handling and emotional impact
The ninth risk is improper waste handling. Saturated materials, used protective equipment and sharps must be packaged so they do not leak, tear or puncture during transport. Overfilled bags, containers left unattended and mixing regulated waste with regular trash can expose sanitation workers and others. Your state's medical waste program defines which materials count as regulated medical waste and how they must be stored and transported.
The tenth risk is emotional. Many biohazard scenes follow an injury, a death or a traumatic event. Family members, coworkers and even property managers may be deeply affected. Asking someone who is grieving or in shock to help with cleanup can cause lasting distress.
Assessment here means planning for proper waste containers and pickup, and thinking about who should be present during the work. A compassionate crew will offer to handle personal items with care and will not expect loved ones to be involved in the physical cleanup. If anyone is in crisis or thinking about suicide, the 988 Suicide and Crisis Lifeline is available by call or text.
One scene, assessed before the first wipe
Here is how that looks on one illustrative job, with made-up details. A property manager calls about a blood incident in a first-floor apartment. The tenant was injured and taken to the hospital. The manager wants the unit cleaned before the tenant returns.
The technician begins with an assessment from the doorway. She notes blood on the vinyl kitchen floor, a trail across the living room carpet and smears on a door frame. A small sharps container has tipped over near the couch, and one needle is visible on the carpet. The apartment is hot because the air conditioner is broken. A power strip on the kitchen floor sits near the edge of the spill.
Before cleaning, the crew unplugs the power strip and turns off that circuit, retrieves the needle with tongs into a sharps container, sets up a clean zone in the hallway with a gear removal area and brings a portable fan to the clean zone for breaks. They plan to lift a section of carpet to check the pad and to use a disinfectant compatible with the vinyl. Each risk is addressed before the first wipe.
This kind of structured assessment is how professional crews stay safe.
A checklist before any crew, or you, begin
Use this quick checklist to walk through the ten risks before work starts.
- Assume all blood and body fluids are potentially infectious.
- Look for needles, glass and other sharps, and plan how to pick them up safely.
- Check whether fluids reached porous materials, seams or lower floors.
- Plan methods that avoid creating dust or droplets from dried material.
- Read product labels, avoid mixing chemicals and plan ventilation.
- Set up clean and dirty zones and a removal path to the outside.
- Check for electrical hazards, slippery floors and weakened structures.
- Plan for heat stress with breaks, hydration and cooling.
- Arrange proper waste containers and pickup.
- Consider who should and should not be present, and offer support to those affected.
How can you tell whether a crew takes these risks seriously?
Ask the company to walk you through its assessment. A good crew will explain which risks they see at your site, how they plan to control each one and what they will do if they find something unexpected. They will not rush into the work before the assessment is done.
Watch for signs of preparation: sharps containers, protective suits, defined work zones, product labels on hand and a plan for waste. These details reflect a culture of safety that protects the crew, you and anyone who uses the space afterward.